
Homemade strawberry jam
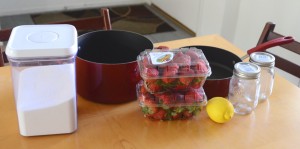
What you’ll need:
- 1 large pot
- 1 large saucepan
- blender
- 2 glass jars
- 2 pounds of fresh strawberries
- 2 cups sugar
- 1 lemon
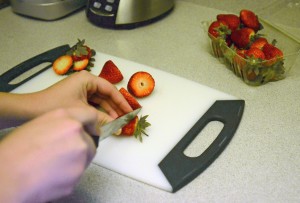
Step 1: Wash the strawberries and cut off the tops so just the fruit remains.
Step 2: Put the berries in a blender and add about a cup of water.
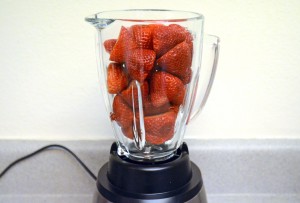
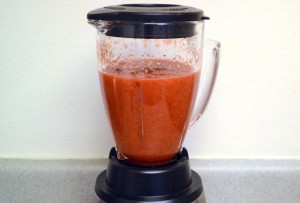
Step 3: Blend on a high setting until the berries turn into a liquid.
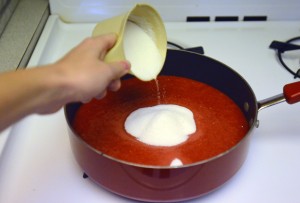
Step 4: Pour the liquid into your saucepan and add two cups of sugar and the juice from one lemon. It is best to squeeze the lemon juice into a separate container before putting it into the saucepan so that you avoid getting seeds into the liquid.
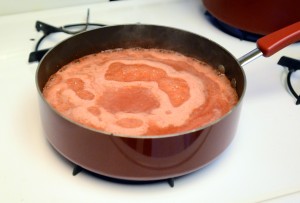
Step 5: Turn the stove on medium heat and boil the liquid for 30 minutes. Make sure you stir often so that the jam does not burn to the bottom of your pan. A pink foam will start to form on the top of the jam as it boils. Use a large spoon to continually skim the foam off the surface of the jam. This will ensure that the jam is translucent.
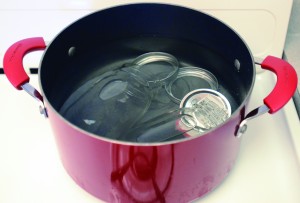
Step 6: As the jam is boiling, you can sterilize the jars to keep mold or bacteria from spoiling the jam. You can do this by filling your large pot with water almost to the top and bringing the water to a rolling boil. Put the jars and lids into the water and boil them for 10 minutes.
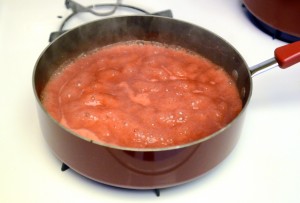
Step 7: When the color of the jam changes from light pink to a deeper red and the boiling starts sounding different, the jam is nearly ready. The jam is completely done when it seems slightly more runny than jam bought from the store.
Step 8: Take the jars out of the boiling water but do not touch the inside. Pour the hot jam into the jars, filling them almost to the top. Screw the lids on very tight, then flip the jars upside down for 10 minutes to seal them. Keep refrigerated. This jam will keep for about two weeks. Enjoy on ice cream or in a peanut butter and jelly sandwich.
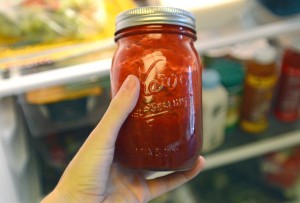
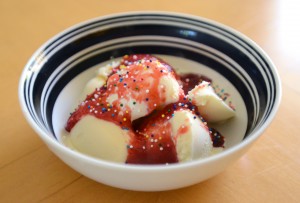
Photo credit: Carly Cody/Daily Bruin